Blog
How to apply wall decals
Jun
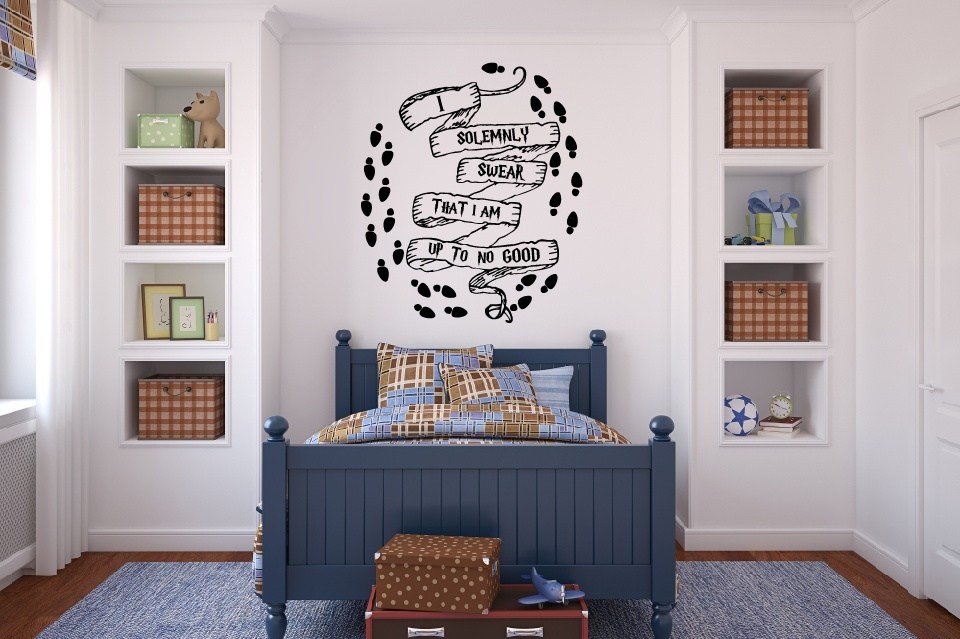
How exciting! You’ve decided to switch up your decor with some great new wall art. Your brand new decal has arrived & you can’t wait to install it.
You tear open the package – oh but wait! Before you start, make sure you’re not in a rush. Yes, the great thing about decals is that they’re quick and easy to apply. No, you don’t want the end result to look like an amateur dog’s dinner. So you’ll want to take the extra time to do a great job installing it, right?
Here’s our simple step by step instructions to applying wall decals to ensure you get the very best results.
First off, you’ll need masking tape, a squeegee, sharp scissors and a spirit level
We’ve started the ball rolling by providing you with a free squeegee.
Ask at your friendly hardware store if you’re stuck for a level, depending on your project you can pick one up for under $20 at your local store
Examine your decal. It will come in 3 layers: top clear application tape, your coloured vinyl decal (yay), and the silicon release backing paper.
Now you’re ready to start.
- Clean the area where the decal will be installed. It should be completely dry. If you’ve painted your walls, you’ll need to wait at least 3 weeks before you install your decal.
- Use the squeegee and rub firmly across the top of the decal – this will make sure it’s sticking to the application tape.
- Position your decal on your wall and apply masking tape to each corner. Now, use a spirit level to ensure the wording/graphic is straight,
- Now place a long piece of masking tape across the middle of the decal and on the wall either side – depending on your decal, this can be horizontal or vertical.
- Then, remove the tape from the corners and peel back the top application tape from the backing paper ensuring the decal is lifted up with it. Use scissors to cut away any exposed backing paper.
- Lightly press the decal onto the wall. Start in the middle and work out to the sides.
- Grab your squeegee again and firmly rub over the application tape while paying attention to where the decal is located.
- Remove the remaining masking tape. Lift the decal up and pull the remaining backing paper from behind. Rub it lightly onto the wall from the middle as you go.
- Now, firmly squeegee the entire area.
- Starting from the top corner, pull back the tap application tape from the wall at a 180-degree angle – just make sure the decal stays on the wall!
- Lightly wipe over the deal and squeeze out any air bubbles.
Stand back, pat yourself on the back (well done!) and enjoy your piece of art.